As we know, in order to save space in the box and make shipment more convenient, the D2 electric dirt bike needs to be assembled after you get it. But how to assemble the D2 electric dirt bike? One of the users of this product, Random Adventures has made an tutorial video on how to assemble the dirt bike, now let’s watch the tutorial video and follow the instruction below to know the full steps.
Hey everyone! Today, I’m going to show you how to assemble the MEGAWHEELS D2 electric dirt bike. Let’s get started.
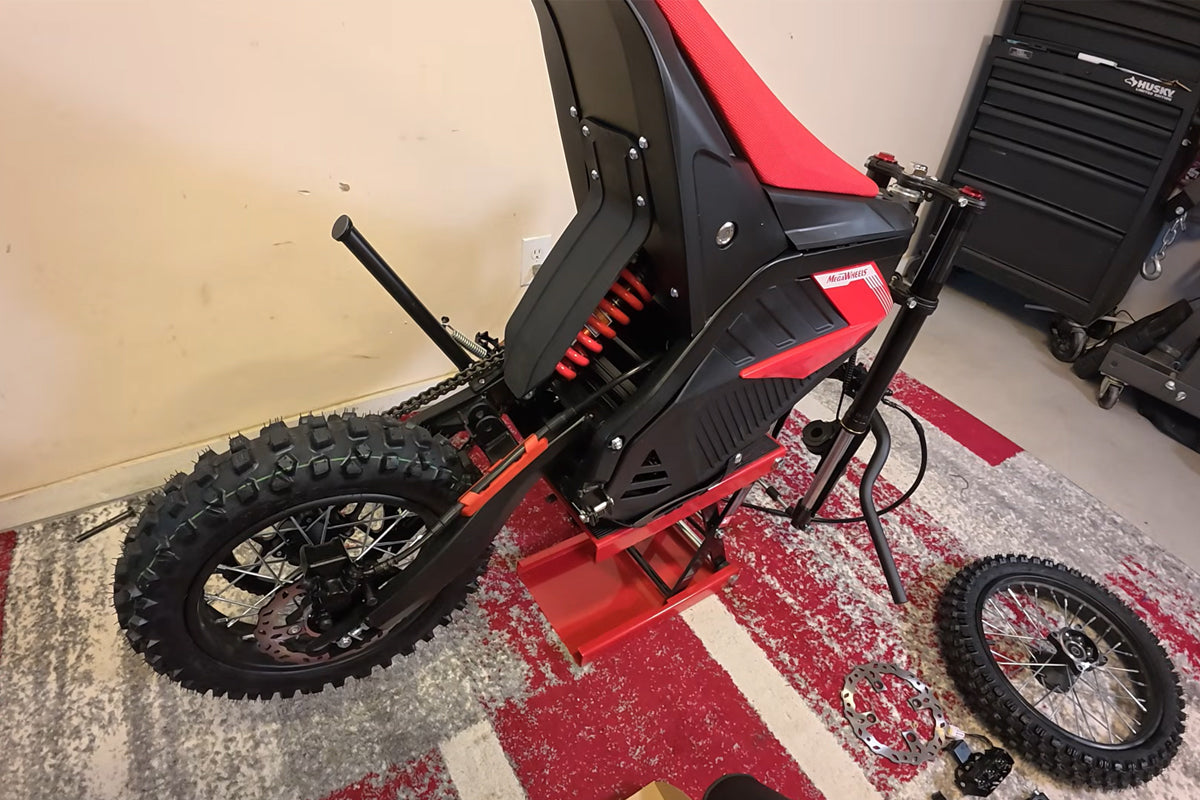
First, let’s list all the parts included: front number plate, 56.4V charger, user manual, front fender, handlebar bumper, handlebar hardware, headlight, front wheel (with a rotor to install), a bag of hardware, and a couple of keys. The handlebars come loose, and you’ll need to install the twist throttle and front brake. A motorcycle jack will make assembly easier; otherwise, ask someone to hold the bike for you. Let’s start with the rear shock.
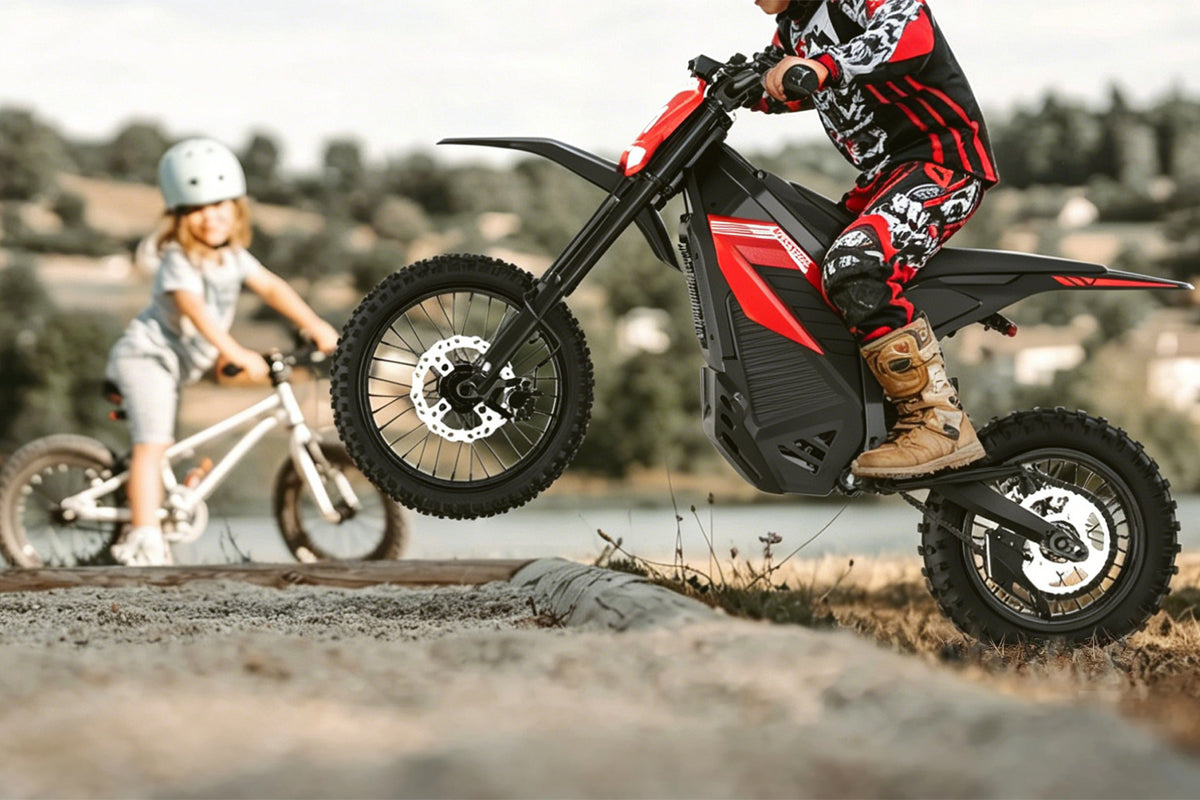
That’s the full assembly of the MEGAWHEELS D2 electric dirt bike. Now you’re ready to ride!
Step 1: Install the Rear Shock
The bag with the keys contains the bolt for the rear shock and the bolts for the front brake rotor. Lift the rear tire, position the shock, and thread the bolt through. Use 14mm and 13mm tools to tighten the nut firmly.
Step 2: Mount the Handlebar Brackets
The handlebar mounting brackets go into the two front holes. Each bracket has a flat washer and a lock washer on the bottom -take them out, place the brackets on top, and hand-thread the bolts from the bottom. Don’t tighten them fully yet, as you’ll adjust the handlebars later.
Step 3: Install Throttle and Front Brake on Handlebars
Remove the top caps to place the handlebars. Install the front brake and twist throttle on the handlebar tube first (the cabling may be too short if installed later). Loosen the brake bolts slightly, slide the brake and throttle onto the tube, and tighten them lightly for now.
Step 4: Position and Secure the Handlebars
Place the handlebars on top of the tree, organize the cabling, and put the top caps back on. Hand-thread the bolts, center the handlebars, and tighten them slightly to hold them in place. Use the 7mm wrench (included in the toolkit) to tighten the big bolts at the bottom of the handlebar stems firmly—be patient, as space is limited. Final handlebar adjustment will be done at the end.
Step 5: Install the Front Brake Rotor
The rotor has countersinks on one side (facing up) and is flat on the other. Use the bolts from the key bag (pre-applied with blue thread lock) and hand-thread all bolts first. Ensure the rotor is flat, then tighten all bolts evenly. Finish by fully tightening each bolt, making sure they sink into the countersinks.
Step 6: Install the Front Wheel
Set the brake caliper aside and remove the front axle. The brake side uses the long spacer, and the opposite side uses the short one. Grease the axle (recommended) before reinstalling. Roll the wheel into position, with the rotor on the brake bracket side. Thread the axle through, add the small spacer on one side and the long spacer on the other, then tighten the nut. Torque to 40-50 Newton-meters (29-36 foot-pounds), as specified in the manual.
Step 7: Mount the Front Brake Caliper
Squeeze the front brake lever and remove the small plastic keeper (it squeezes the brake pads). Also, remove the plastic keeper between the brake pads. Take out the two 8mm bolts from the caliper, slide the caliper over the rotor, and reinstall the bolts—tighten snugly, not overly tight.
Step 8: Secure the Brake Line
Install the brake line into the small bracket on the fork. Open the bracket just enough to slide the line in, then tighten it snugly (don’t squeeze too hard, as it’s a brake line).
Step 9: Install the Front Fender
Remove the three bottom bolts, place the fender, and reinstall the bolts. Tighten them gently—they’re plastic, so don’t over-tighten.
Step 10: Install Headlight and Front Number Plate
Remove the bolts where the headlight bracket mounts, attach the headlight, and reinstall the bolts. For the number plate: bolt its bracket to the plate first (use the small black bolt, leave it loose for adjustment), then mount the assembly to the bike. Hook the brake line into the small plastic hook on the fender. Route the headlight wire down, find the matching plug, and connect it. Tighten the number plate’s back bolt fully (it’s easier to do this before mounting the plate).
Step 11: Install the Right Foot Peg
Remove the pre-install hardware (use needle-nose pliers to pull the cotter pin). The spring’s big end goes over the wide part of the foot peg, then over the small circle at the bottom. Push the peg down against the spring, insert the pin, add the flat washer, and bend the cotter pin (twist it to avoid scratches).
Step 12: Mount the Display
The display mounts on the left handlebar. Use the small Allen wrench to loosen the bottom bolt, position the display, and tighten it. Line up the arrows on the display plug and the wiring harness, then plug them in (be careful not to bend the pins). Use the included wrap to tidy the wires.
Final Adjustments
Sit on the bike to adjust the handlebars, brake levers, and throttle to your comfort. Ensure the throttle is fully seated and aligned with the brake lever, then tighten all loose bolts. Install the front bumper pad with the included zip ties.
Warm tips: the tutorial above is just for your reference, some of the steps may be different, don’t worry about it. If you have any question on installing the electric dirt bike, leave a comment below, we will help you solve it.

Leave a comment
All comments are moderated before being published.
This site is protected by hCaptcha and the hCaptcha Privacy Policy and Terms of Service apply.